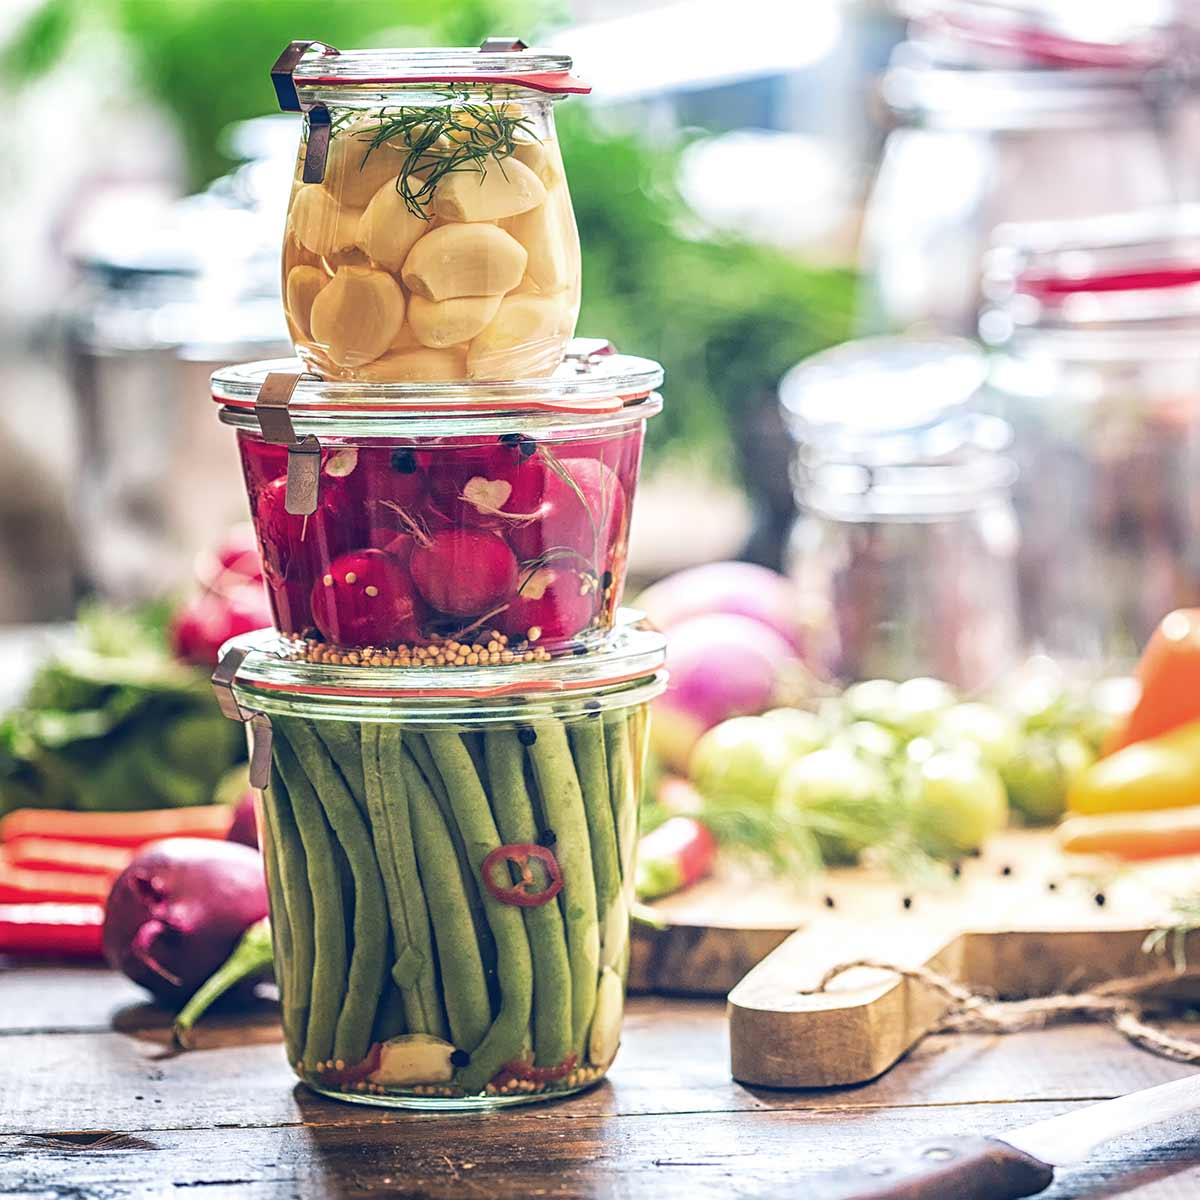
Summer comes with a bang of flavor in the form of ripe, juicy fruits that beg to be eaten right off the vine. But what do you do when you’ve got more fruit than you can handle, and you’re not willing to let any of that goodness go to waste? You can it, that’s what! Let’s break down how to preserve those summer flavors in jars, so you can crack open a taste of sunshine even in the depths of winter.
Let’s Talk Canning Fruit
Canning might sound like something only your granny knows how to do, but trust me, it’s easier than it looks. All you need is some fresh fruit, a few jars, and a little bit of patience. And the best part? You can can just about anything: peaches, plums, apricots, berries – if you can name it, you can can it.
Gathering Your Supplies
First things first, you’ve got to get your gear together. You’ll need some canning jars with lids and rings, a big pot for boiling the jars, and a jar lifter or some tongs to get those hot jars out of the water without singing your fingers.
Preparing the Fruit
Next up, prep your fruit by washing it and cutting it into manageable pieces. Berries can stay whole, but you’ll want to pit and slice things like peaches and plums.
Sweet Syrup or Plain Water?
Here’s where you get to make a choice. Do you want to can your fruit in a simple syrup (which is just water and sugar boiled together) or just plain water? The syrup helps the fruit keep its color and shape better, but if you’re cutting down on sugar, water works just fine.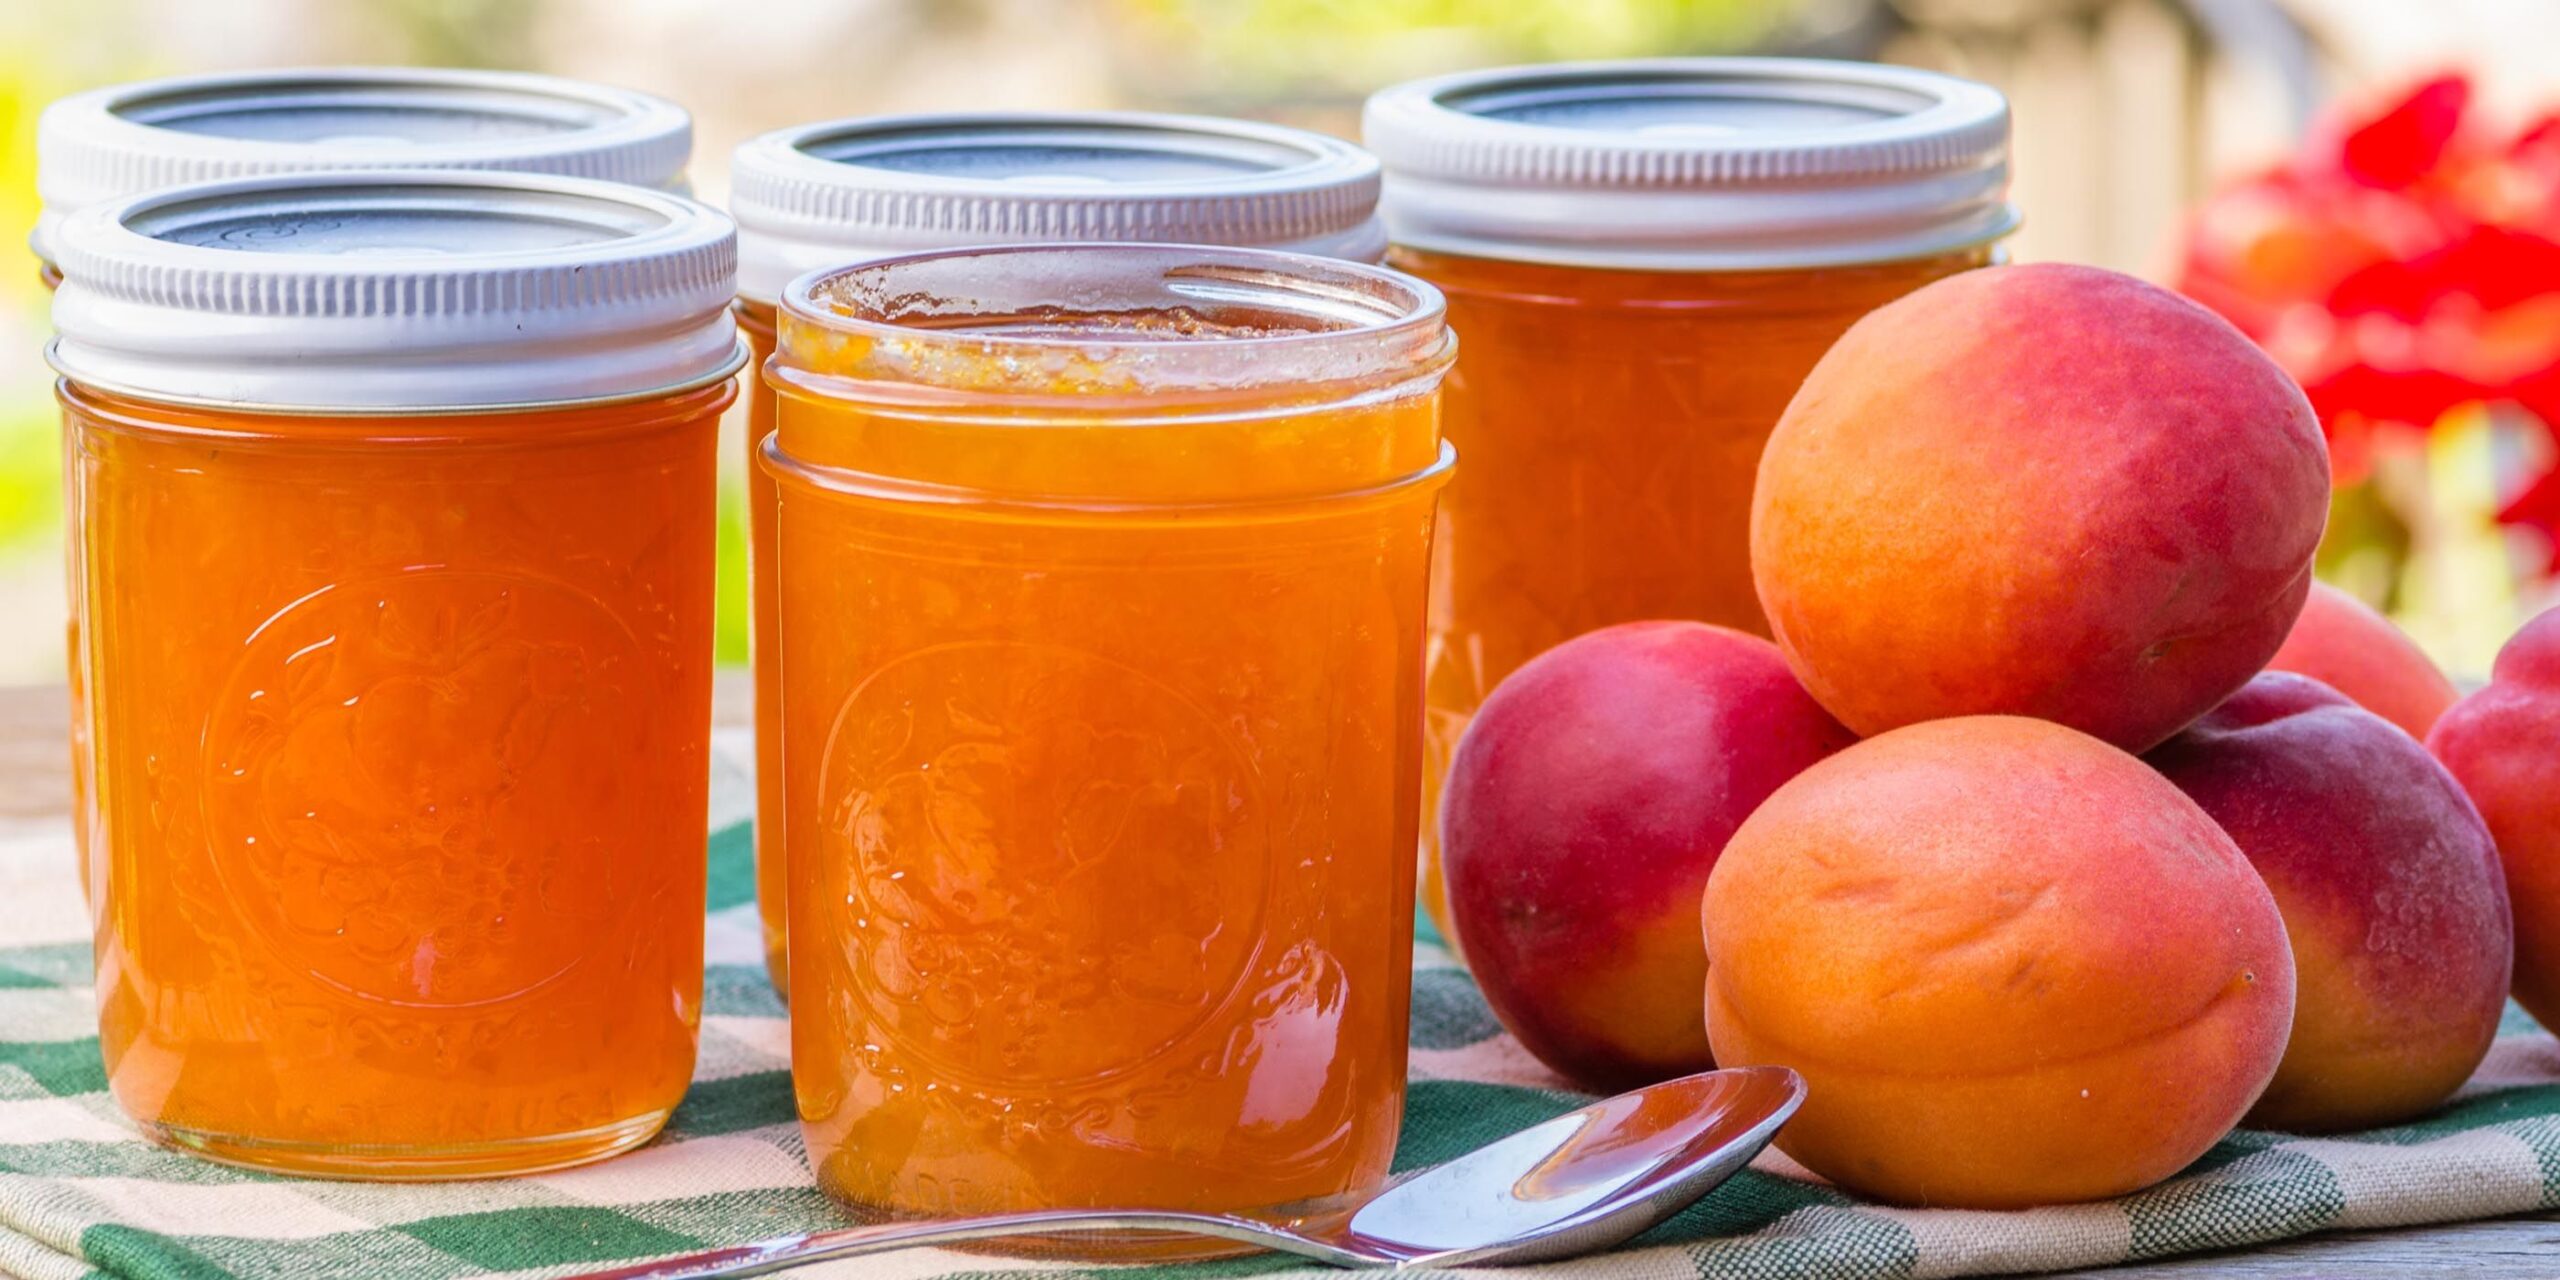
Filling Your Jars
Once your fruit is ready, stuff it into your jars, leaving a bit of space at the top. Pour in your hot syrup or water, still leaving some room at the top. You’ll need to leave what’s called ‘headspace’, which is just an air gap to let the fruit and liquid expand when they get heated up.
Seal and Boil
Wipe the rims of the jars clean, put the lids on, and tighten the rings. Then it’s time for the hot bath. Put the jars in a pot of boiling water for the time specified in your recipe (it varies by fruit and jar size). This process kills any bad microorganisms and seals the jars tight.
Wait for the Pop
After you boil them, pull the jars out and let them cool. You’ll hear a satisfying ‘pop’ when the jars seal properly. If the lid doesn’t pop down, don’t sweat it – just use that jar first.
Store or Share
Once your jars are cooled and sealed, label them with the date, so you don’t forget when you canned that batch. Store them in a cool, dark place until you’re ready to enjoy. Or better yet, hand them out to friends and family so they can taste the summer, too!
Enjoying Your Hard Work
When you’re ready to enjoy, pop open a jar and use the fruit for pies, on ice cream, or straight out of the jar with a spoon. Every bite will take you back to those lazy, warm summer days.
And there you have it: canning fruit summed up without the fuss. It’s just about taking the bounty of summer and locking it away in jars – like saving a little bit of the warm season for later. You’ll feel like a kitchen wizard, and come winter, your taste buds will thank you.


