Hello home chefs and fermentation fans! Today, we’re getting into the world of fermentation by making a batch of sauerkraut. It’s super simple, pretty fun, and the end result is both delicious and good for your gut. Here’s how to get started on your own home-fermented sauerkraut.
What You’ll Need
Fresh cabbage (1 medium head should do)
Non-iodized salt (sea salt works great)
A knife or a food processor
A mixing bowl
A fermentation container (a mason jar or a fermenting crock)
Something to weigh down the cabbage (a smaller jar filled with water or a fermentation weight)
Step-by-Step Sauerkraut
Step 1: Prep the Cabbage
Start by removing the outer leaves of the cabbage and setting them aside (you’ll use them later). Then, slice the cabbage into thin strips or shred it in a food processor. The finer the shred, the faster your kraut will ferment.
Step 2: Salt and Squeeze
Place the shredded cabbage in a large mixing bowl and sprinkle it with salt. The general rule is to use about 3 tablespoons of salt for every 5 pounds of cabbage. Now, get your hands in there and start massaging the salt into the cabbage. Squeeze and scrunch it up for about 10 minutes. You’ll notice the cabbage starts to get watery – that’s good! The salt is drawing out the moisture to create the brine in which the cabbage will ferment.
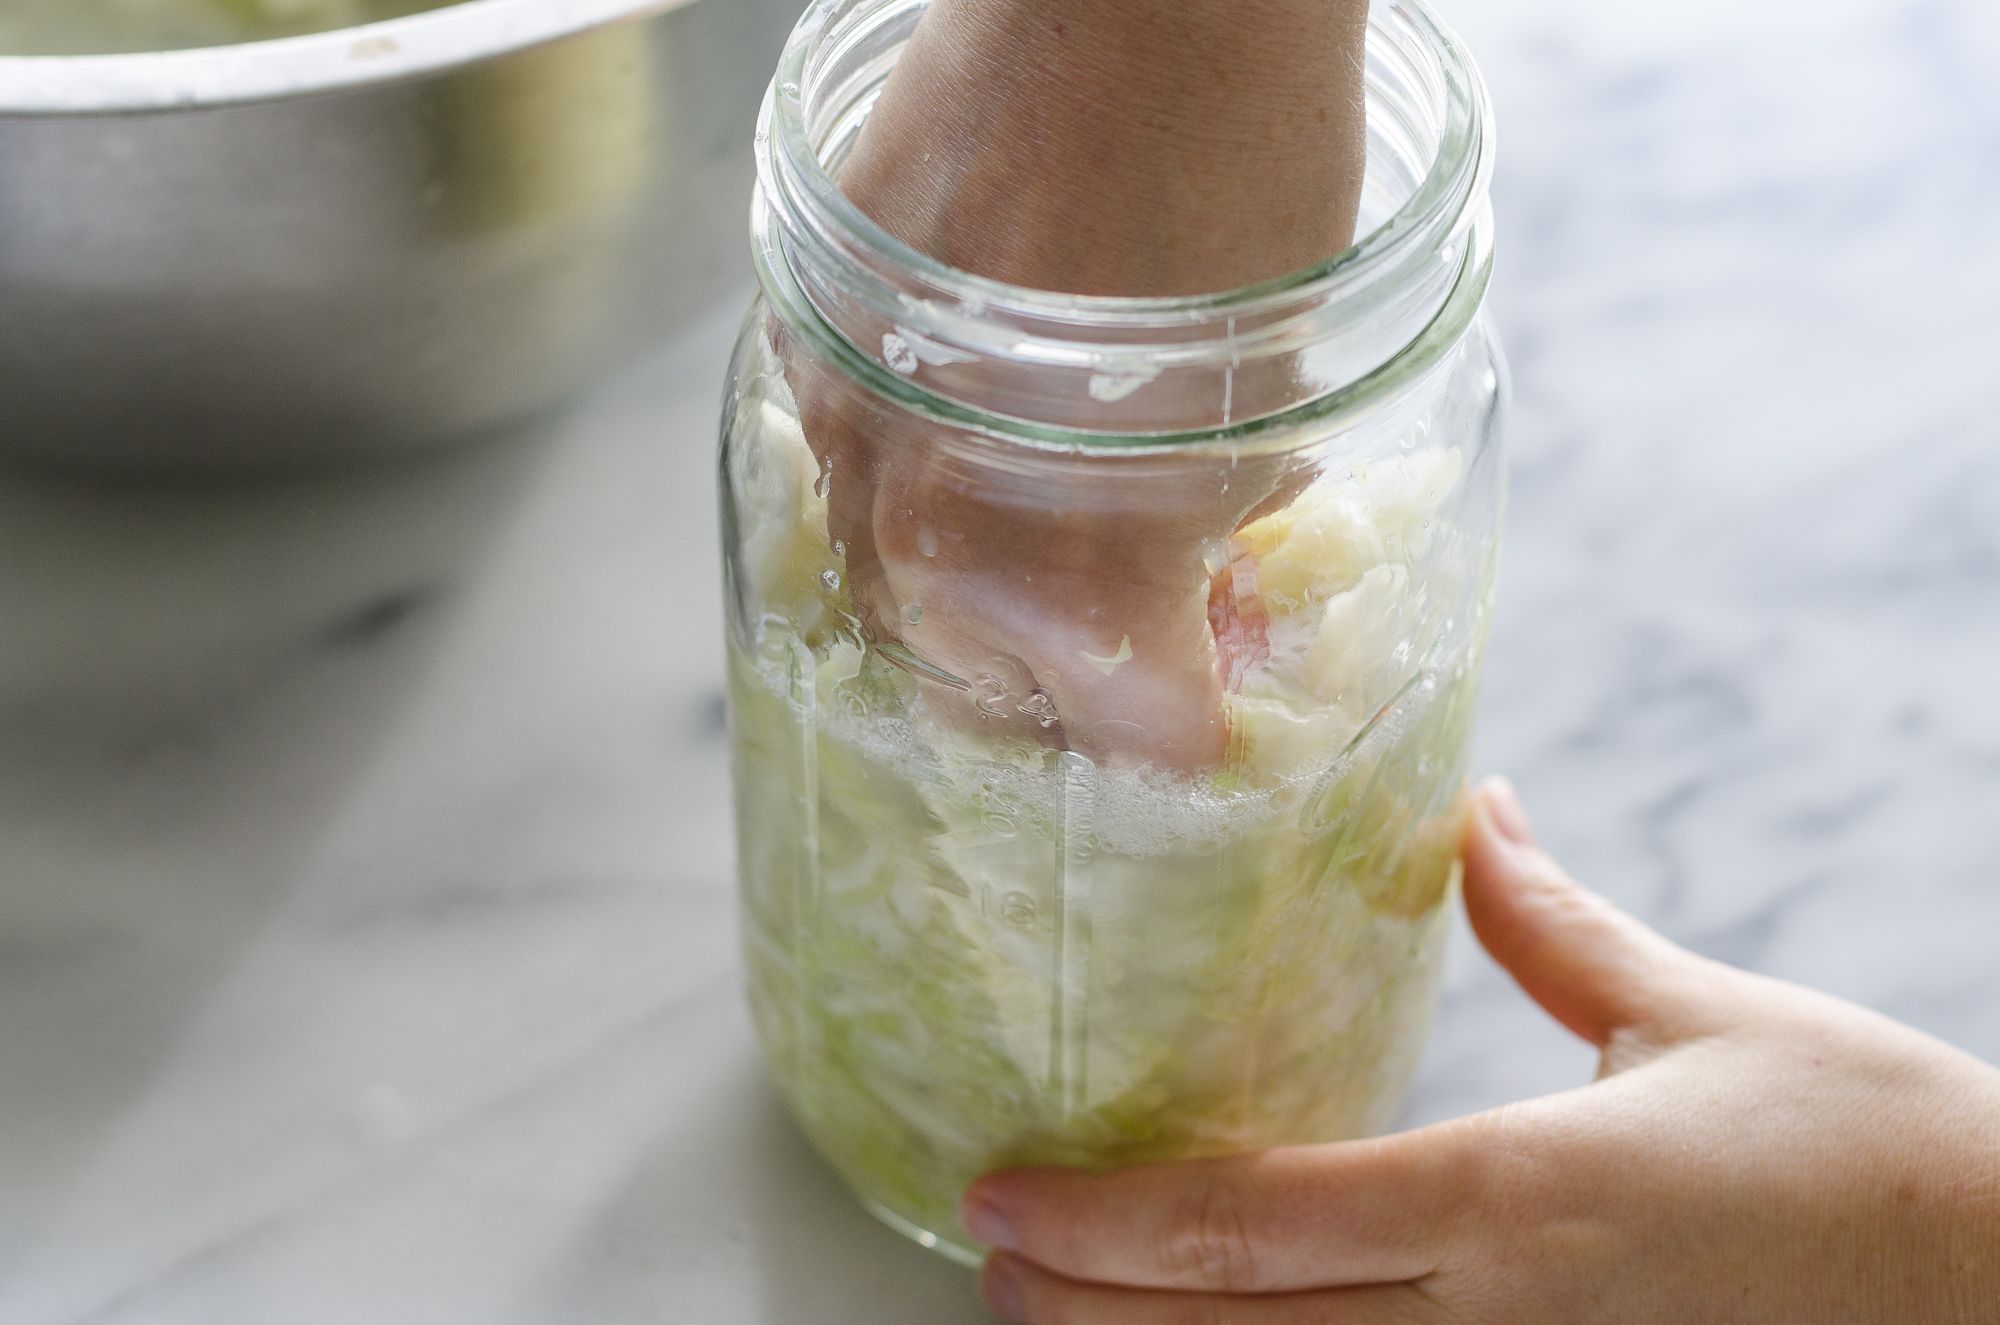
Step 3: Pack It Tight
Take your salted and squeezed cabbage and pack it into your fermentation container. Press it down hard to get rid of air bubbles and to ensure the cabbage is submerged in the brine that’s formed. If the liquid doesn’t cover the cabbage, wait a few minutes and try again — the salt will continue to draw out water from the cabbage.
Step 4: Weigh Down
Once all your cabbage is in the jar, take those reserved outer leaves, fold them up, and place them on top of the shredded cabbage. Then, place your weight or water-filled smaller jar on top to keep everything pressed down and below the brine.
Step 5: Cover and Wait
If you’re using a mason jar, loosely cover it with the lid to allow gases to escape. If you have a crock, follow the crock’s instructions for a loose cover or use a clean kitchen towel secured with a rubber band over the opening. Store the jar in a cool, dark place, like a cupboard or a pantry.
Step 6: Check and Taste
After a few days, check your sauerkraut to make sure it’s fully submerged and there’s no mold. If you see any scum, skim it off. Taste it at regular intervals to see how it’s coming along. The longer it ferments, the tangier it will be.
Step 7: When It’s Just Right
Sauerkraut can be fermented in as little as a week, but many people let it go for 2-4 weeks or even longer. Once it’s to your liking, replace the lid tightly and store it in the fridge. It’ll keep for months, and the flavor will continue to develop.
That’s it! You’ve made sauerkraut. Pat yourself on the back and enjoy your homemade probiotic powerhouse with sandwiches, salads, or as a tasty side dish. Happy fermenting!


